An Introduction to OST File
OST is an acronym for Offline Storage Table. These are Outlook Offline Folders that store email messages, contacts, calendar items, tasks and other information, etc. that has been saved by Microsoft Outlook from an Exchange Server. These OST files provide you with your email messages, etc. in offline mode so that you may work on it and later synchronize it with the server when connected to it.
OST files enable Microsoft Outlook users to communicate within a domain network. One thing that is important to know is that offline OST files temporary files. They are available only for a limited duration.
1) Microsoft Outlook : -
Microsoft Outlook is the most preferred email client application. From IT Technocrats to college students, Outlook is used by each and every one of them to manage their emails.

The offline OST files are created within Microsoft Outlook. There are two versions of Microsoft Outlook: - Microsoft Outlook Express and Microsoft Outlook. This personal information manager (PIM) allows the users to manage their email messages, contacts, calendar items, tasks, notes and journals, etc.
2) Exchange Server : -
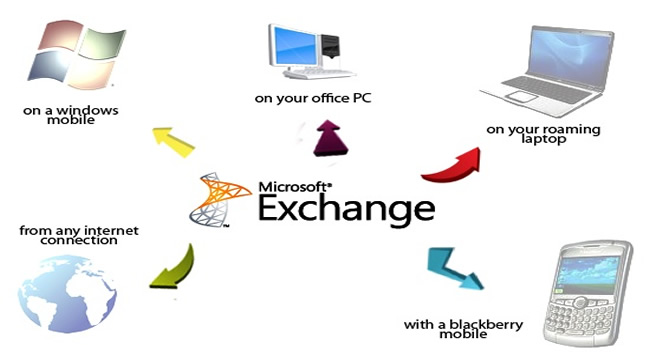
Microsoft Exchange Server is a mail server. In addition to this, it is also calendaring software as well as a contact manager. Microsoft Exchange Server allows the users to share information using either Microsoft Outlook or Outlook web address.
3) HOW TO CREATE AN OST FILE ?
Offline OST files are created automatically when for the very first time, Microsoft Outlook is run on your computer. These data files are saved at C:\Documents and Settings\Local Settings\Application Data\Microsoft\Outlook. Follow the below mentioned steps to create an OST file: -
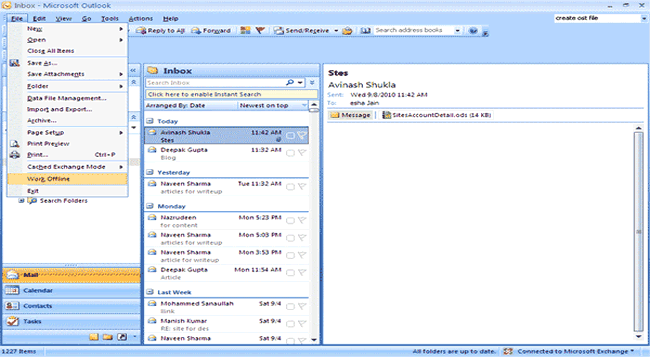
1) WORK OFFLINE : -
In the left top corner of the Micrsoft Outlook home window, click on File Menu and choose Work Offline option from the drop down menu.
2) SELECT FOLDERS : -
Now you may choose the folders that you need in the offline mode. Now you may choose the folders that you need in the offline mode. You may select Inbox, Outbox, Contacts, Calendars, etc. To select any other folder: -
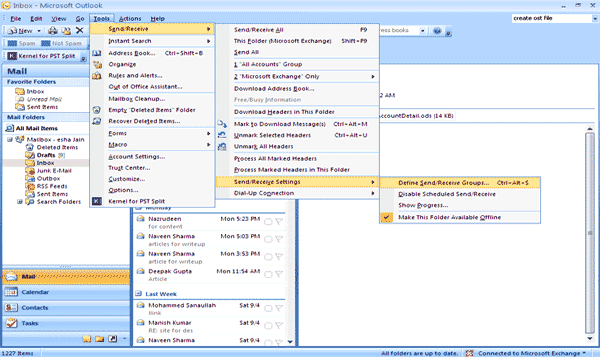
A) GO TO TOOLS MENU : -
Under the Tools menu, choose Send/Receive option followed by Send/Receive Settings. Then go to Define Send/Receive Groups.
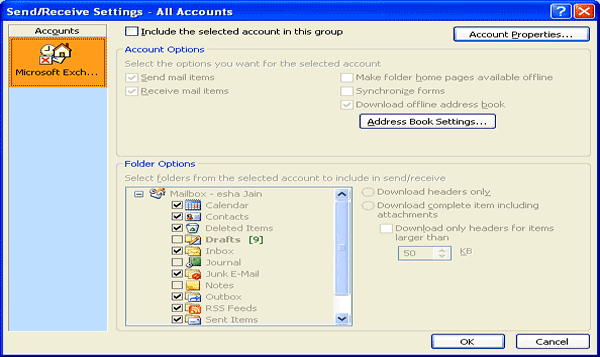
B) SEND / RECEIVE GROUP : -
Choose Send/Receive group comprising of Exchange account followed by Edit. Now you can select your required folders.